

The smell of freshly baked oven artisan bread can turn any kitchen into a paradise. I still remember the first time I took a golden, crusty loaf out of the oven. The sound of the crust cracking, the warm steam, and the excitement of that first bite were unforgettable. Making homemade bread is more than just feeding yourself; it’s about connecting with a long-standing tradition.
Making oven artisan bread might seem hard, but it’s actually quite easy. With just flour, water, yeast, and salt, you can make a rustic loaf that’s as good as any from a bakery. This guide will help you through every step of making delicious artisan bread in your own kitchen, whether you’re new to baking or have lots of experience.
Key Takeaways
- Artisan bread requires minimal ingredients and equipment
- Long fermentation develops complex flavors
- Precise temperature control is crucial for perfect results
- No-knead method simplifies bread making
- Home baking allows for endless flavor experimentation
Essential Ingredients for Perfect Artisan Bread
Making fresh bread is all about knowing the right ingredients. These ingredients turn simple parts into a special treat. Traditional bread making is all about finding the right mix of elements for the best results.
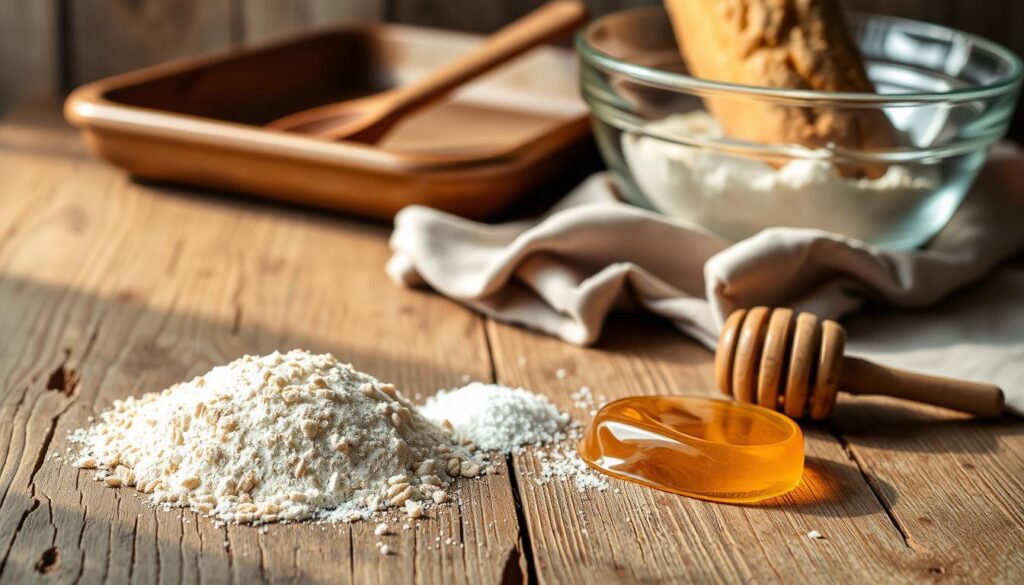
Understanding Flour Types and Properties
Flour is the base of any bread. Different types of flour change how your bread turns out:
- Bread Flour: Has more protein (200g) for a softer, chewier bread
- All-Purpose Flour: A versatile choice with a slightly different feel (200g)
- Spelt Flour: Adds a special flavor (optional 60g)
The Role of Yeast and Salt
Yeast and salt are key for flavor and structure. Use 1.5g of active dry yeast and 20g of salt. This ensures your bread ferments well and tastes great.
Water Temperature and Quality
Water is very important in bread making. Use 300g of water at room temperature, about 100°F. The right water temperature helps yeast work and gluten develop. This makes your bread have the perfect texture.
By choosing and measuring your ingredients carefully, you’ll get better at making artisan bread.
Required Equipment and Tools
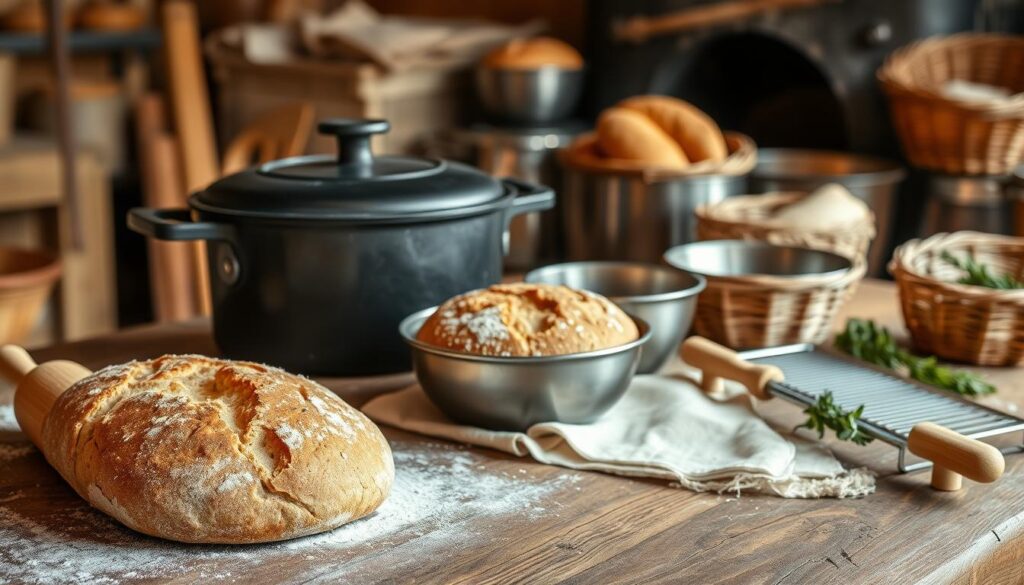
To make rustic loaves at home, you need special equipment. It turns simple baking into a professional experience. The right tools are key to your success.
For perfect artisan bread, you’ll need a few important items. They help you get professional-quality results:
- Digital Scale ($56 Oxo Stainless Steel Food Scale) – Precision is crucial in bread making
- Dough Scraper ($12 OXO Bench Scraper) – Helps manage sticky dough and clean surfaces
- Proofing Basket ($35 Bread Banneton Set) – Shapes and supports dough during rising
- Dutch Oven ($299 Challenger Bread Cloche) – Creates steam for perfect crust development
- Mixing Bowl (Cambro Container, $20) – Provides ample space for dough preparation
Professional bakers know that good tools make a big difference. A digital thermometer ($41) helps with temperature control. A bread lame ($19) is great for scoring.
Don’t buy everything at once if you’re starting. Start with the basics. Then, add more as you get better.
| Tool | Price | Purpose |
|---|---|---|
| Digital Scale | $56 | Precise ingredient measurements |
| Bread Lame | $19 | Scoring dough for perfect crust |
| Proofing Basket | $35 | Shaping and supporting dough |
Success in artisan bread isn’t just about tools. It’s also about knowing how each tool helps. This way, you can make beautiful, tasty rustic loaves.
The Science Behind Artisan Bread Making
Learning the science of traditional bread making turns beginners into skilled bakers. Sourdough bread shows amazing molecular interactions. These interactions lead to its unique texture and flavor.
Artisan bread making is a mix of chemistry and skill. It involves complex interactions between ingredients. These interactions decide the bread’s quality.
Gluten Development Process
Gluten forms when flour proteins meet water. This creates an elastic network. This network gives bread its structure and texture.
Several factors affect gluten development:
- Protein content of flour
- Hydration levels
- Mixing and kneading techniques
- Resting time
Fermentation Basics
Fermentation is key in traditional bread making. Yeast and bacteria break down carbs. This creates unique flavors and makes the bread easier to digest.
| Fermentation Factor | Impact on Bread |
|---|---|
| Fermentation Time | 12-24 hours |
| Yeast Percentage | 0.1% – 0.33% of flour weight |
| Hydration Level | 60-80% |
Steam’s Role in Crust Formation
Steam is vital for a perfect artisan bread crust. It stops the crust from forming too fast. This lets the bread expand and get a crispy, golden crust.
The science behind sourdough bread making shows why each loaf is special. By understanding these processes, you can improve your bread-making skills. You can make amazing artisan breads.
Oven Artisan Bread: Mixing and Initial Steps
Making oven artisan bread is all about careful mixing and prep. It’s a journey that turns simple ingredients into a tasty loaf. Understanding the first steps is key.
To begin your artisan bread journey, you’ll need these ingredients:
- 4 cups bread flour
- 1½ cups warm water (100-110°F)
- ½ teaspoon instant yeast
- 2 teaspoons salt
Start by mixing your dough right. First, mix dry ingredients and then add warm water slowly. Aim for a shaggy, wet dough. Don’t overmix – it helps the dough develop better.
The first rise, or bulk fermentation, is vital. Cover your dough and let it rest at room temperature, between 70º-75ºF. This step, lasting 12-18 hours, makes the dough double in size and adds deep flavors.
Once risen, shape your dough gently on a floured surface. Be gentle to keep air bubbles for a great texture. Dust with flour to prevent sticking and enhance the bread’s look.
Pro tip: If your kitchen is cool, use a turned-off oven with the light on. It keeps the dough at the right temperature for rising and flavor.
Mastering the No-Knead Method
Traditional bread making has been changed by the no-knead technique. It makes making fresh baked bread easy and quick. This method cuts down on the time you spend working with dough and boosts the flavor.
The secret to great artisan bread is long fermentation. Letting your dough rest and grow makes it taste better and feel softer.
Benefits of Long Fermentation
- Develops deeper, more nuanced bread flavor
- Increases digestibility of the bread
- Creates a more open, airy crumb structure
- Reduces active preparation time
Cold Proofing Techniques
Cold proofing is a big help for home bakers. By putting your dough in the fridge, you can:
- Slow down yeast activity
- Enhance flavor complexity
- Improve dough manageability
Keep your dough in the fridge for up to 14 days. The best taste comes between 8-12 hours. The cold slows down fermentation, making the bread taste more complex.
Dough Handling Tips
Working with cold, sticky dough is tough. Use wet hands or a dough scraper to handle it. Only a little flour on your work surface helps prevent sticking without harming the dough’s softness.
Success with no-knead bread comes from patience and not messing with it too much. Let time and temperature work their magic, turning simple ingredients into a fantastic loaf of fresh baked bread.
Dutch Oven Baking Techniques
Baking artisan bread at home is easier with a Dutch oven. It turns your kitchen into a real bakery. You can make perfect rustic loaves with just a little effort.
To start baking Dutch oven bread, follow these steps:
- Preheat your Dutch oven to 450°F (230°C) for 30-45 minutes
- Select a Dutch oven between 3.2 to 5 quarts for optimal bread sizing
- Use parchment paper to prevent sticking
- Ensure your dough weight stays around 900g maximum
The baking process for rustic loaves has two stages. First, bake covered for 20 minutes to trap steam. This helps create a perfect crust. Then, uncover for 25-35 minutes to get that crispy exterior. Aim for an internal bread temperature of 206-208°F.
Pro tip: Try baking at 425°F first to avoid burning the bottom crust. Sprinkle coarse cornmeal or wheat bran to prevent sticking.
With practice, you’ll make beautiful oven artisan bread. The Dutch oven method makes bread making easy and always gives great results.
Achieving the Perfect Crust and Crumb
Making great fresh baked bread is all about the crust and crumb. Your skills in baking will really show when you get these right.
Baking bread is a mix of science and art. The look and feel of your loaf depend on key factors. These turn simple ingredients into a work of art.
Temperature Control Methods
For perfect bread, temperature is key. Here are some important temperature tips:
- Preheat your oven to 450-500°F for the best baking
- Try a two-stage baking method:
- Start with 10 minutes at 425°F
- Then, bake for 15-20 minutes at 375°F
- Use baking stones for even heat
Steam Management
Steam is crucial for a crisp, golden crust. It helps your bread rise beautifully in the first 10-15 minutes.
- Make steam by putting a water pan in the oven
- Spritz water on the oven walls
- Bake in a preheated Dutch oven to keep moisture in
Scoring Patterns
Scoring is more than just for looks. It helps control how the dough grows and adds beauty to your bread.
- Use a sharp lame or razor blade
- Cut at a 45-degree angle for the best look
- Try different patterns like:
- Single slash
- Cross
- Wheat stalk design
With these techniques, your homemade bread will have a professional crust and soft, airy crumbs.
Troubleshooting Common Issues
Making traditional bread can be tough, even for pros. Knowing common problems helps you make perfect bread every time.
Dough Rising Challenges
Yeast activation is key for great bread. If your dough isn’t rising, check these things:
- Water temperature between 105°F and 115°F for optimal yeast activation
- Room temperature should be 75°F to 85°F for proper rising
- Ensure yeast is fresh and not expired
Texture and Baking Problems
Bread texture comes from many factors. Here’s a quick guide:
| Problem | Possible Cause | Solution |
|---|---|---|
| Dense Bread | Insufficient kneading | Knead longer to develop gluten |
| Gummy Interior | Underbaking | Bake until internal temperature reaches 190°F |
| Burnt Bottom | Incorrect oven rack placement | Move rack to middle position |
Moisture and Handling Tips
Managing dough moisture is crucial. Add flour sparingly – just 1 tablespoon at a time if it’s too sticky. Don’t add more than ½ cup total to keep it right.
Remember, practice makes perfect in homemade bread baking. Each challenge is a chance to get better!
Flavor Variations and Add-ins
Take your artisanal bakery skills to the next level by trying new flavors. Making bread becomes a fun journey when you mix different ingredients and techniques. These changes can make your homemade bread truly special.
Herb and Garlic Combinations
Add herbs and garlic to your rustic loaves for a unique taste. Here are some great pairings:
- Rosemary and roasted garlic
- Thyme and black pepper
- Basil and sun-dried tomatoes
- Oregano and parmesan cheese
Specialty Flour Blends
Try different flours to change your bread’s texture and taste. Some popular choices are:
- Rye flour for a deep, earthy flavor
- Whole wheat flour for nutty undertones
- Spelt flour for a lighter, sweeter taste
- Semolina flour for added richness
Sweet and Savory Options
Turn your rustic loaves into gourmet treats with these flavors:
- Cinnamon raisin bread
- Olive and rosemary focaccia
- Jalapeño cheddar sourdough
- Chocolate espresso bread
Remember, making great bread is all about trying new things. Start small and find your own unique flavors. Your family and friends will love them.
Conclusion
Starting your journey in oven artisan bread baking is more than a skill. It’s a journey that connects you to ancient baking traditions. You’ll learn to measure ingredients carefully, understand fermentation, and create the perfect steam. This will boost your confidence in making amazing homemade bread.
Sourdough bread is a thrilling option for those who want richer flavors. With time, you’ll get better at balancing moisture, managing wild yeast, and making loaves that compare to bakery ones. Every baking session teaches you something new about ingredients and temperature.
Success comes from being patient, trying new things, and practicing regularly. Your digital scale, knowledge of flour types, and eagerness to learn will turn you into a skilled artisan bread maker. Enjoy the journey, savor the tasty outcomes, and keep exploring the world of bread baking.
As you grow, you’ll see that bread making is an art that shows your creativity and passion. Your kitchen will become a place where you create masterpieces. Each loaf is a work of art ready to be shared with loved ones.